
In today’s world, having a strong WiFi connection is key. How to enable WiFi adapter Windows 11: Quick Guide It’s vital for streaming shows, joining online meetings, or just browsing the web. If you’re new to Windows 11, setting up your WiFi adapter might seem tough. But don’t worry, this guide will help you do it easily, so you can stay connected and work efficiently.
We’ll cover how important a working WiFi adapter is and how to make it work well. You’ll learn how to fix connection problems and update drivers. This guide aims to give you the skills and confidence to manage your WiFi network and enjoy all that Windows 11 has to offer.
Understanding WiFi Adapters in Windows 11
The WiFi adapter is key to a strong wireless internet connection on Windows 11 devices. It connects your computer to the internet, making sure you stay online smoothly.
RELATED ARTICLE: Windows 11 Freezes Randomly For A Few Seconds
What is a WiFi Adapter?
A WiFi adapter, or wireless network adapter, lets your computer talk to wireless networks. It sends and receives data through the air, so you can surf the web without cables.

Importance of Wireless Connectivity
Wireless connectivity is vital today. It lets you move freely while staying online, boosting your work and fun. For tasks like working remotely, streaming, or just browsing, having a good wifi driver installation and wireless internet connection is crucial.
Knowing how the WiFi adapter works in Windows 11 helps you fix wifi hardware problems. This keeps you connected and fully using your device’s features.
“Wireless connectivity has become an integral part of our daily lives, enabling us to stay connected and productive no matter where we are.”
How to enable WiFi adapter Windows 11
Enabling your WiFi adapter on a Windows 11 device is easy. It helps you activate your wireless network adapter and enable wireless card connectivity. Just follow these simple steps on how to enable a Wi-Fi adapter in windows 11 and enjoy wireless access on your computer.
- Open the Start menu and search for “Settings”.
- Click on the Settings app to launch it.
- In the Settings window, navigate to the “Network & internet” section.
- Under the “Network & Internet” settings, click on the “Wi-Fi” option.
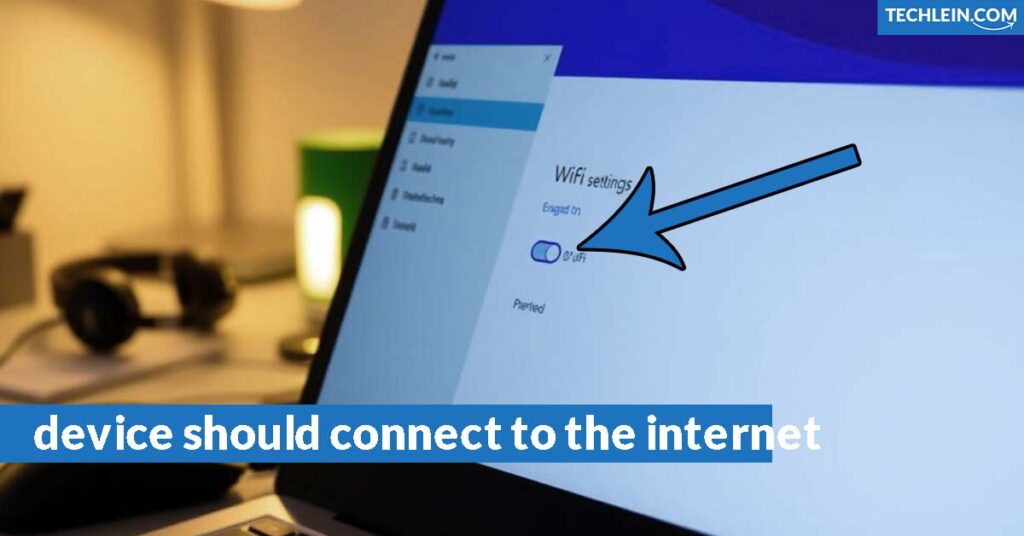
- In the Wi-Fi settings, ensure that the “Wi-Fi” toggle is set to the “On” position.
- If the Wi-Fi toggle is off, click on it to turn it on and enable your WiFi adapter.
After enabling your WiFi adapter, your Windows 11 device should connect to the internet wirelessly. If you have problems or need help, check the “Checking WiFi Adapter Status” and “Troubleshooting WiFi Connection Issues” sections of this guide.
“Enabling your WiFi adapter is crucial for seamless wireless connectivity on your Windows 11 device.”
Checking the WiFi Adapter Status
Having a strong WiFi connection is key for smooth internet use and wireless work. For Windows 11, knowing your WiFi adapter’s status and details can help fix network issues and improve your wireless connection.
Identifying WiFi Adapter Hardware
First, let’s examine the hardware of your WiFi adapter. This info is vital for solving wifi troubleshooting problems and keeping drivers updated. Here’s how to find your WiFi adapter hardware in Windows 11:
- Open the Start menu and search for “Device Manager”.
- In the Device Manager window, expand the “Network adapters” category.
- You’ll see the make and model of your WiFi adapter. Remember this info for updating drivers.
Knowing your WiFi adapter’s details helps fix network settings and Windows 11 issues. It also keeps your wireless connection current and efficient.
“Identifying the right hardware is the first step towards effective wifi troubleshooting and maintaining a reliable wireless connection.”
By following these easy steps, you can quickly learn about your WiFi adapter’s specs. This knowledge helps with better decisions and troubleshooting for your network settings in Windows 11.
Troubleshooting WiFi Connection Issues
If you’re having trouble with your WiFi on Windows 11, there are steps to fix it. Check your network settings and update your wireless drivers. This guide will help you with wifi troubleshooting and get your WiFi working again.
Checking Network Settings
Start by looking at your network settings in Windows 11. Make sure your wireless adapter is turned on and you’re on the right network. Go to the Network and Sharing Center to check and adjust your settings as needed.
Verifying Wireless Adapter Status
Your wireless adapter might be the problem. Open the Device Manager to see if it’s working right. If not, you might need to update the driver or check the hardware.
Updating Wireless Drivers
Old or wrong wireless drivers can cause issues. Go to your device’s website or Windows Update for new drivers. Installing these might fix your problem.
Resetting Network Configuration
- Open the Command Prompt as an administrator.
- Type the following commands and press Enter after each one:
- netsh winsock reset
- netsh int ip reset
- ipconfig /release
- ipconfig /renew
- ipconfig /flushdns
- Restart your device and check if the WiFi connection is now working properly.
By trying these steps, you should be able to fix any wifi troubleshooting problems on your Windows 11 device.

Updating WiFi Drivers
Keeping your wifi driver installation current is key for a smooth wireless internet connection on Windows 11. If your drivers are outdated or incorrect, you might face connectivity problems. This can make it hard to get online. We’ll show you how to find and install the newest WiFi driver for your device. This will boost your wireless adapter’s performance.
Locating the Latest WiFi Driver Version
To update your WiFi drivers, first, find out what kind of wireless adapter you have. You can check this in your device’s specs or the Device Manager. With this info, head over to the manufacturer’s site to find the latest driver for Windows 11.
- Locate the “Network adapters” section in the Device Manager
- Right-click on your WiFi adapter and select “Properties”
- Note the manufacturer and model information for your adapter
- Visit the manufacturer’s website and search for the latest driver update
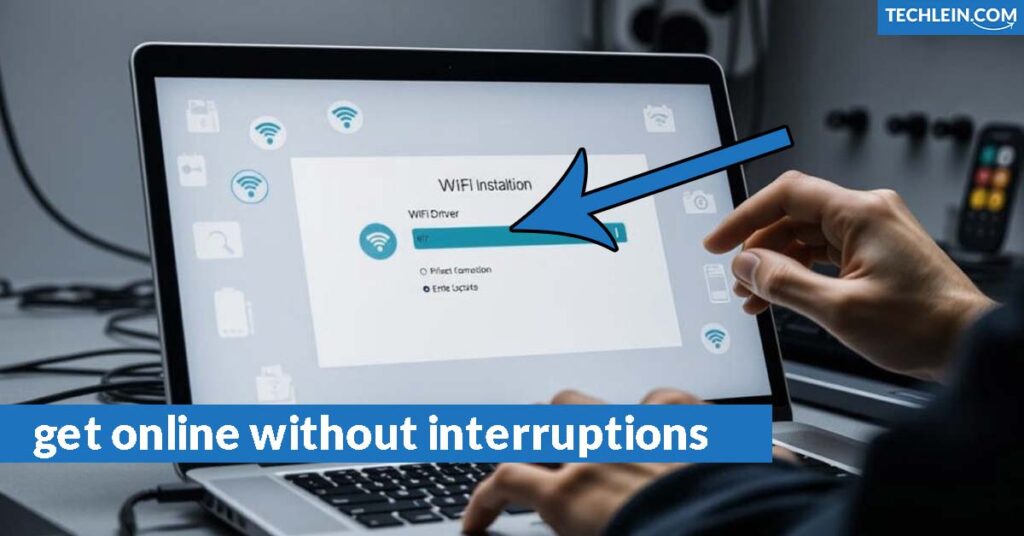
Installing WiFi Drivers
Once you’ve downloaded the newest driver, here’s how to install it on your Windows 11:
- Ensure your computer is connected to the internet via an Ethernet cable or other wired connection
- Double-click the downloaded driver installer file to launch the installation process
- Follow the on-screen instructions to complete the installation
- Once the installation is finished, restart your computer to apply the changes
By updating your wifi driver installation, you’ll keep your wireless internet connection on Windows 11 stable and reliable. This ensures you can always get online without interruptions.
Enabling WiFi Adapter from Device Manager
In Windows 11, you can quickly enable your wireless network adapter through the Device Manager. This tool lets you directly access your computer’s hardware. It helps you troubleshoot and manage your WiFi adapter easily. Here are the steps to activate your wireless network adapter and enable your wireless card in Device Manager:
- Right-click the Windows Start button and select “Device Manager” from the menu.
- In the Device Manager window, find the “Network adapters” section and expand it.
- Look for your wireless network adapter in the list. It might be called “Wireless LAN adapter,” “WiFi adapter,” or something else.
- If your wireless adapter is turned off, right-click on it and choose “Enable device” from the menu.
- Wait for the adapter to turn on, and your WiFi should work again.
By using the Device Manager to enable your wireless network adapter, you can fix WiFi issues quickly. This ensures your computer is set up for wireless use.
| Step | Action |
|---|---|
| 1 | Right-click the Windows Start button and select “Device Manager” |
| 2 | Find the “Network adapters” section and expand it |
| 3 | Identify your wireless network adapter in the list |
| 4 | If your adapter is off, right-click on it and select “Enable device” |
| 5 | Wait for the adapter to enable, and your wireless connectivity should be restored |
By following these steps, you can activate your wireless network adapter and enable your wireless card in Windows 11. This ensures your computer is ready for wireless use.
Configuring Network Settings
In Windows 11, it’s important to set up your network settings right for a stable wireless connection. You start by going to the Network and Sharing Center. There, you can tweak your network settings to improve your wireless connection.
Accessing Network and Sharing Center
To get to the Network and Sharing Center in Windows 11, just follow these easy steps:
- Open the Start menu and search for “Control Panel”.
- Click on the Control Panel app to open it.
- In the Control Panel, click on “Network and Internet”.
- Select “Network and Sharing Center”.
Once you’re in the Network and Sharing Center, you can see your network connections. You can also adjust your settings and fix any connection problems.
| Network Settings | Wireless Connectivity Setup |
|---|---|
| Manage your network connections | Connect to a wireless network |
| Change your network adapter settings | Configure your wireless network preferences |
| Troubleshoot network problems | Optimize your wireless performance |
Using the Network and Sharing Center helps make sure your network settings and wireless connectivity setup work well. This ensures a great user experience on your Windows 11 device.
Activating Wireless Network Adapter
In Windows 11, making sure your wireless network adapter is turned on is key for a smooth wireless connection. Just follow a few easy steps to activate the wireless network adapter and enjoy a dependable wireless link.
First, check if your wireless network adapter is working. Go to the Network and Sharing Center in the Control Panel. You’ll see if your wireless card is on and working right.
- Open the Control Panel and go to the “Network and Sharing Center”.
- Look for the “Wireless Network Connection” section and check its status.
- If the status shows the wireless network adapter is off, you’ll need to turn it on.
To enable the wireless network adapter, just do these steps:
- Right-click on the wireless network icon in the system tray (usually in the bottom-right corner of your screen).
- Select “Open Network and Sharing Center” from the context menu.
- In the “Wireless Network Connection” section, click on the “Change adapter settings” link.
- Right-click on the wireless network adapter and select “Enable”.
After enabling the wireless network adapter, you should see and connect to wireless networks. If problems persist, update the wireless driver or check for hardware issues. These steps will help make sure your wireless network adapter is fully activated and ready for use in Windows 11.
Turn on WiFi Windows 11
To turn on WiFi in Windows 11, it’s easy. First, find the WiFi icon in the system tray of the taskbar. If you can’t see it, go to the Start menu and search for “Network & Internet” or open the Settings app.
In the Network & Internet settings, click on the “WiFi” option. Then, switch the WiFi toggle to the “On” position. This turns on your wireless adapter and lets your device look for WiFi networks. When you find your network, pick it up and enter your login details to connect securely.
If you’re having trouble with WiFi, check your network adapter’s status. Make sure it has the latest drivers installed. Updating your WiFi drivers can fix connection issues and make your device work better with Windows 11’s WiFi.
FAQ
How do I enable the WiFi adapter on my Windows 11 device?
To enable the WiFi adapter on your Windows 11 device, just follow these steps: 1) Open the Settings app, 2) Click on “Network & Internet”, 3) Select “Wi-Fi” and turn it on, 4) Make sure your wireless network adapter is enabled in the Device Manager.
What is a WiFi adapter and why is it important?
A WiFi adapter lets your computer connect to a wireless network. It’s key for getting a stable wireless internet connection on your Windows 11 device.
How do I check the status of my WiFi adapter in Windows 11?
Check your WiFi adapter status in Windows 11 by opening the Device Manager. Expand “Network adapters” and find your wireless adapter. If it’s working right, you’ll see a green icon next to it.
How do I troubleshoot WiFi connection issues on my Windows 11 device?
For WiFi connection problems, try these steps: 1) Restart your router and computer, 2) Check your wireless adapter for any physical issues, 3) Update your WiFi driver, 4) Adjust your network settings in the Control Panel.
How do I update the WiFi driver on my Windows 11 computer?
Update your WiFi driver on Windows 11 by following these steps: 1) Open the Device Manager, 2) Expand “Network adapters”, 3) Right-click on your wireless adapter and select “Update driver”, 4) Follow the prompts to install the latest driver version.
How do I enable the WiFi adapter from the Device Manager in Windows 11?
Enable your WiFi adapter from the Device Manager in Windows 11 with these steps: 1) Open the Device Manager, 2) Expand “Network adapters”, 3) Right-click on your wireless adapter and select “Enable device”.
How do I configure the network settings to optimize my wireless connection in Windows 11?
To optimize your wireless connection in Windows 11, do the following: 1) Open the Control Panel and go to “Network and Sharing Center”, 2) Click on “Change adapter settings”, 3) Right-click on your wireless adapter and select “Properties”, 4) Adjust settings as needed for better connection.
How do I activate the wireless network adapter in Windows 11?
Activate your wireless network adapter in Windows 11 by following these steps: 1) Open the Control Panel and go to “Network and Sharing Center”, 2) Click on “Change adapter settings”, 3) Right-click on your wireless adapter and select “Enable”.
How do I turn on the WiFi on my Windows 11 device?
Turn on WiFi on your Windows 11 device with these steps: 1) Open the Settings app, 2) Click on “Network & Internet”, 3) Select “Wi-Fi” and toggle the switch to the “On” position.