iPhone stylish wallpaper android hd 4k: Tech Lein Ai 2
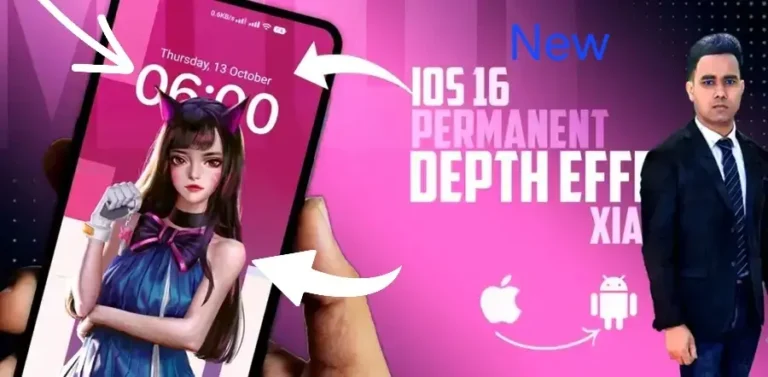
Elevate Your Device with Tech Lein Ai 2 iPhone stylish wallpaper android hd 4k A high-quality wallpaper can change how …
Elevate Your Device with Tech Lein Ai 2 iPhone stylish wallpaper android hd 4k A high-quality wallpaper can change how …

I’ve always found How To Use Free Ai Video Generator To Make Money Hailuo Ai production to be a huge …
Get Your Facebook Verification Badge: A Complete Guide Social Tech Lein FB 1 media is a big part of our …
I’m a busy professional always juggling tasks and deadlines. How to troubleshoot the new Sticky Notes app on Windows 11 …
I’ve been excited about the next Windows 11 update may seriously slow down your SSD from Microsoft. But, recent news …
I love how new tech changes how we see things. Windows 11 Will Finally Give You Greater Control Over HDR …
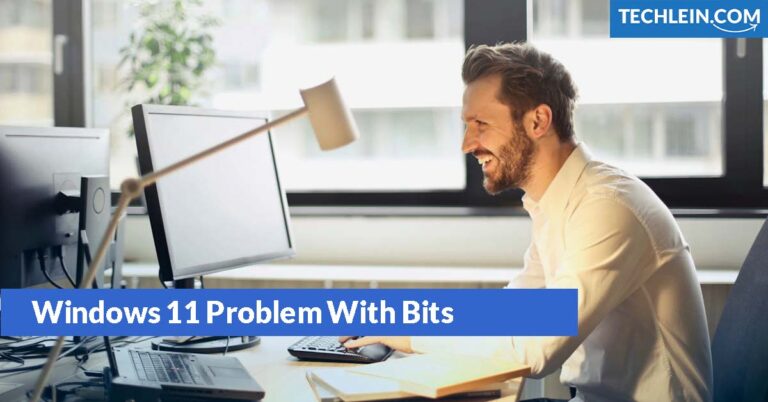
As a tech-savvy individual, I’ve seen my share of software issues. But the Windows 11 Problem With Bits Service stands …
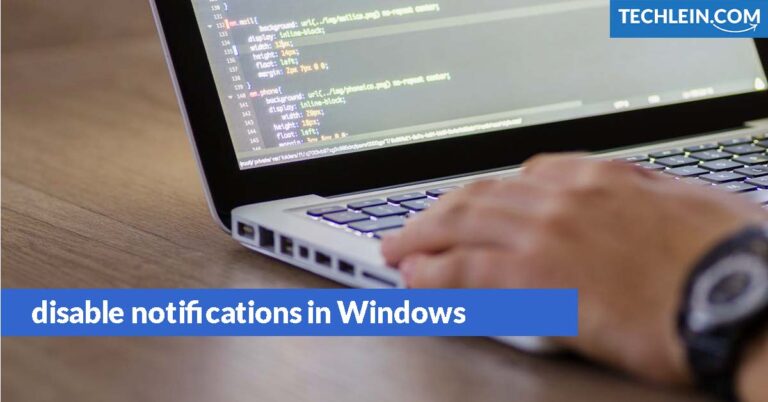
As a busy professional, I know How to disable notifications in Windows 11 can be. From work emails to social …
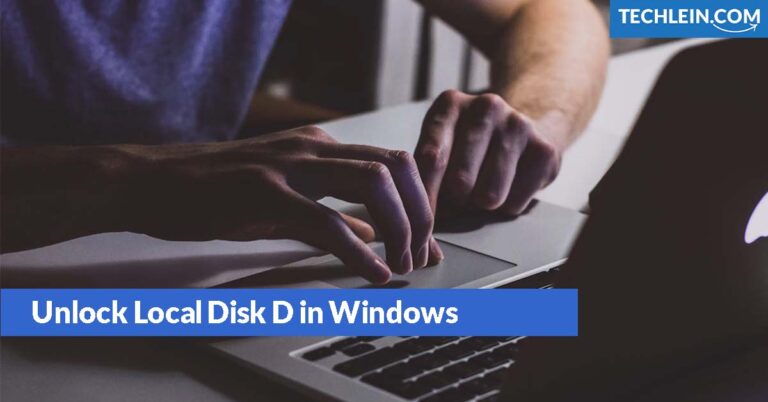
I’ve faced many storage challenges over the years. How TO Unlock Local Disk D in Windows 11 Dealing with drive …
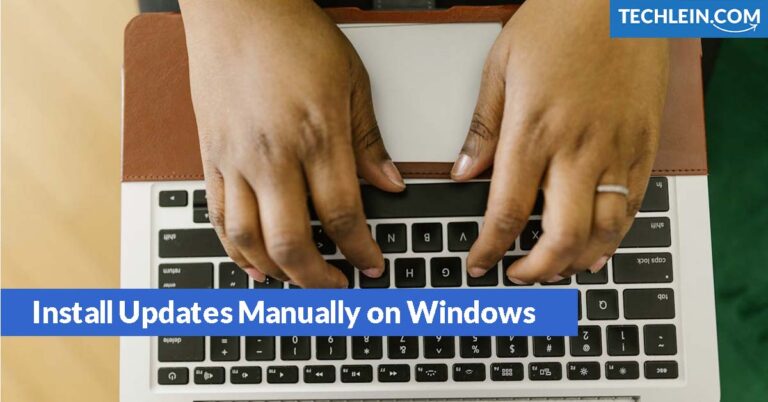
I’ve always been interested in how operating systems change over time. How to Install Updates Manually on Windows 11, the …